A paver driveway is really two systems pretending to be one surface: the stones you see, and the sand joints holding them in place. Wash it like a concrete slab and you clean the stones while destroying the joints — which is how a “freshly washed” paver driveway ends up shifting, sinking, and sprouting weeds a season later. Here’s how the job is done properly, and what the sand-and-sealer talk actually means.
Why pavers get their own method
Concrete is monolithic; pavers are hundreds of small stones locked together by jointing sand. That sand is structural. It transfers load between stones, keeps them from rocking, and blocks the gaps where weeds and ants otherwise move in. An untrained blast at full pressure excavates those joints in seconds.
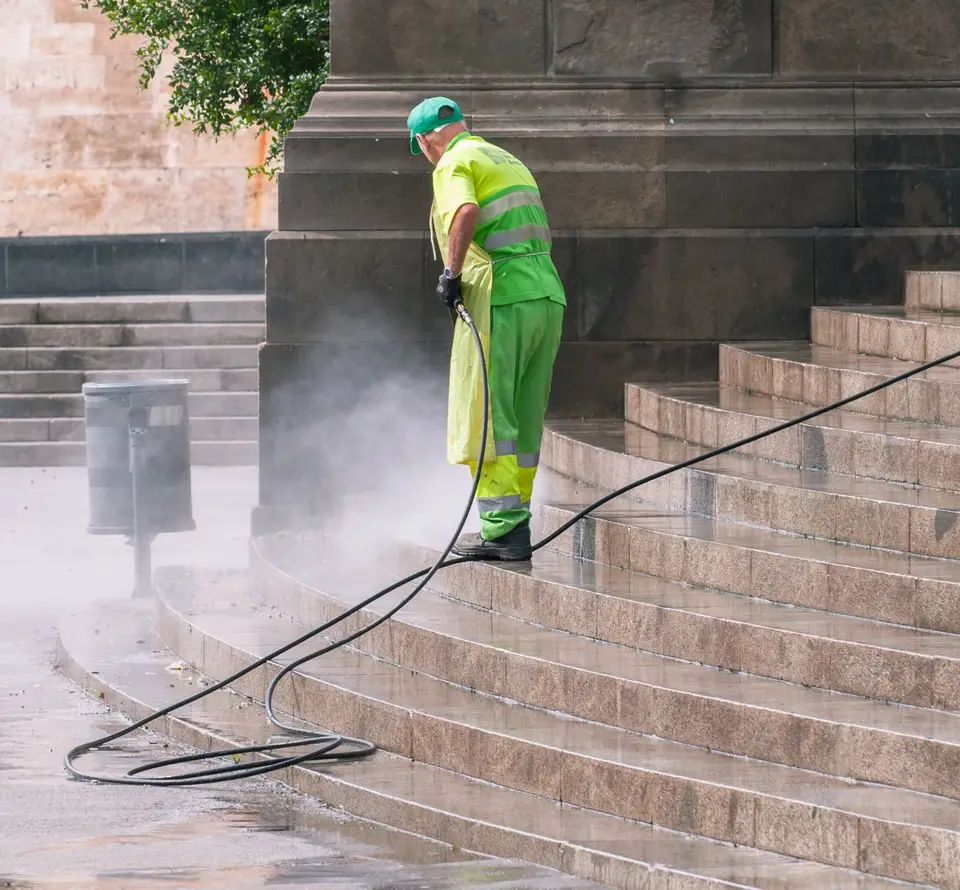
A joint-safe paver wash works differently: pretreatment first, so oil and grime release chemically instead of needing brute force; then controlled passes that clean the stone faces while preserving the sand line; then targeted work on the stubborn spots — rust with iron-specific removers that won’t bleach the stone, gum and spills softened and lifted rather than blasted.
Know your paver type
Not all pavers respond to cleaning the same way, and the label matters before the first pass:
- Concrete pavers — the most common in LA driveways. Dyed through or surface-colored; aggressive pressure or harsh chemistry can bleach the color layer, which is why rust gets iron-specific removers instead of general-purpose acid.
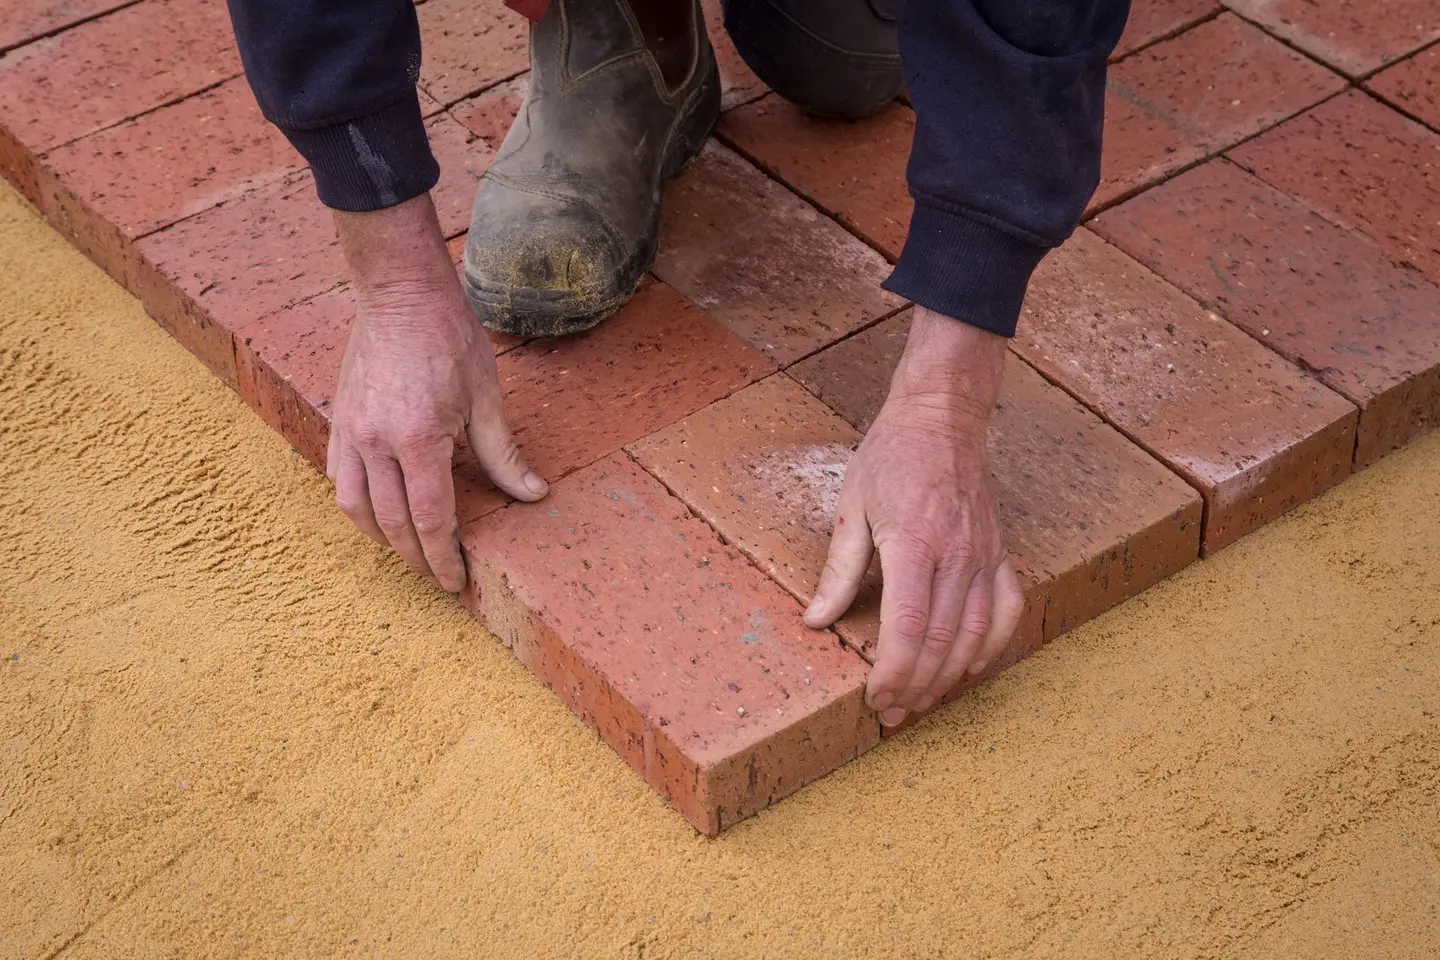
- Clay brick — fired color runs all the way through, so it ages gracefully, but the material is softer and the mortar or sand joints are the vulnerability. Gentler passes, more attention to the lines.
- Natural stone (flagstone, travertine, slate) — porous and often sealed; these lean toward the soft-wash end of the spectrum and absolutely require a test spot first.
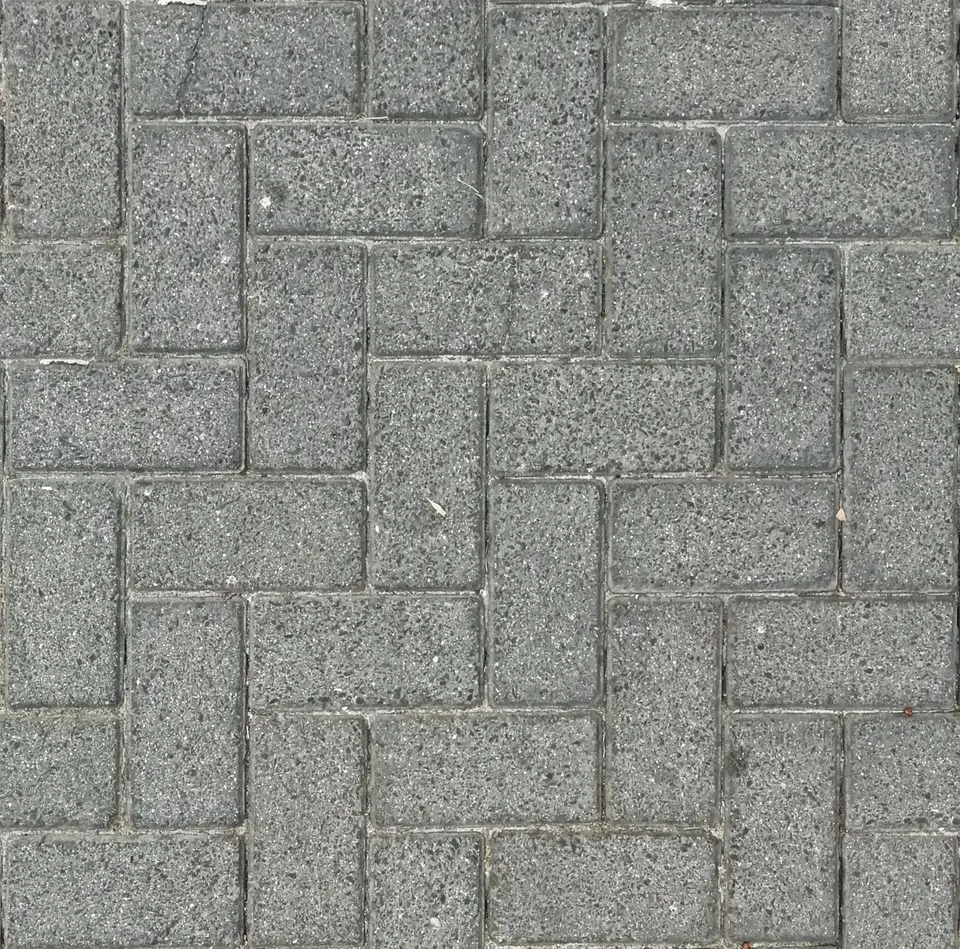
Same driveway shape, three different jobs. The photos tell us which one yours is.
What polymeric sand actually does
After a deep wash, the joints usually need a top-up — and this is where polymeric sand earns its keep over plain sand. It’s jointing sand mixed with binders that, once dampened and cured, lock the joint into a firm, flexible seal.
Here’s the owner’s own explanation, from a real paver-driveway job:
“The sand should be added to the joints periodically to prevent shifting and sinking of the paver bricks (as well as weed growth and ant infestations).”
— Logan, “From the owner” on Google
That’s the whole case in one sentence: topped-up joints keep the field of stones stable, and the cured polymeric surface denies weeds and ants their favorite real estate. It’s maintenance, not a one-time fix — joints lose material gradually to wind, water, and enthusiastic garden hoses, so periodic top-ups are part of owning pavers.
Re-sanding, step by step
A proper top-up is its own small craft:
- Clean and dry — sand only goes into clean, dry joints; damp joints clump the polymer early.
- Sweep in — sand is broomed diagonally across the field until joints fill to just below the chamfer (the beveled paver edge).
- Compact and top off — settle the sand, then fill again where it drops.
- Blow off the faces — polymer left sitting on the stone surface hazes when wet. Every stray grain comes off before activation.
- Mist to activate — a controlled wetting starts the binders curing; too much water washes the polymer out of the joint.
The order is everything: sand before sealer, always dry, always clean. Get it backwards and the polymer hazes the stone faces or washes out of the joints — both fixable, neither fun.
Sealer finishes: wet look vs. matte
Sealers split into two families. Film-forming “wet look” products deepen color dramatically and add sheen — great on richly colored pavers, but they show wear patterns and need recoating more visibly. Penetrating matte sealers keep the natural look, protect from inside the pore, and age more gracefully. Both do the structural job Logan described — stabilizing the sand and shedding stains — so the choice is honestly aesthetic. Look at a wet corner of your driveway after rain: if you like that look, you’ll like wet-look sealer.

Sealing: what it buys you
Sealing divides opinion mostly because bad sealing jobs are so visible — blotchy, plastic-looking driveways sealed over dirt. Done in the right order (deep clean, dry, sand top-up, then sealer), it does three real things:
- Keeps the surface cleaner, longer. Sealed stone sheds oil drips and spills instead of drinking them, which makes every future wash easier.
- Revives the color. Sealer brings back the contrast and depth that years of grime flattened — the “wet look” or a matte finish, depending on the product.
- Stabilizes the sand. Again, Logan’s words from the same job: the sealer “not only keeps the bricks cleaner and prettier for longer, but also stabilizes the polymeric sand which is displaced by wind, gardeners, and water hoses.”
The practical caveats: sealed pavers need 24–48 hours before normal use, and sealing over a dirty or damp surface locks the problem in — which is why it’s the last step of a proper wash, never a standalone product sprayed on whatever’s there.
A maintenance rhythm that works
- Every wash: joint-safe cleaning with pretreatment; inspect the sand lines.
- Periodically: polymeric sand top-up where joints have dropped — prevention is a bag of sand; the cure is re-laying sunken stones.
- Every few years: re-seal, depending on sun exposure, traffic, and how hard your gardener’s blower works.
- Anytime oil appears: treat it early. Fresh drips lift easily; aged stains need repeat treatments.
A quick word on brand-new pavers
Fresh installations play by slightly different rules. New polymeric sand needs its full cure before the driveway sees a hose or a storm, and many sealer manufacturers recommend letting new concrete pavers weather for a while before the first seal so efflorescence — the white mineral haze new pavers can push out — has a chance to work itself out rather than getting sealed in. If your driveway was installed this year, the right first move is usually patience, then a gentle first wash, then the sand-and-seal routine on the schedule above.
The mistakes we get called to fix
- Full pressure straight into the joints — the classic. Blown sand lines, rocking stones, and a repair bill that dwarfs the wash.
- Sealing over dirt or damp — locks the grime under a glossy window and traps moisture that hazes the finish.
- Acid-washing rust on colored concrete pavers — the stain leaves, and so does the color.
- Skipping the sand top-up after washing — the wash looks great for a month, then the weeds return to a buffet of half-empty joints.
Quick answers
How soon can we park on it? Once dry for standard cleaning; sealed pavers typically need 24–48 hours.
Do you always recommend sealing? No — sand joints need maintaining either way, but sealing is optional and mostly aesthetic-plus-convenience. It earns its cost fastest on driveways that see oil.
Can badly sunken pavers be fixed with sand? Top-ups prevent sinking; already-sunken stones need re-laying. That’s the argument for maintaining joints before gravity gets a vote.
DIY or call it in?
Rinsing dust off pavers with a garden hose: absolutely DIY. The full job — degreaser chemistry, joint-safe pressure, iron-specific rust removal, sand, sealer — is equipment- and judgment-heavy, and the failure mode (blown joints, bleached stones, sealed-in grime) costs more to undo than the wash costs to hire. If you want a number for yours, photos of the driveway get you a quote — usually within the hour during business hours. More on the general method in the driveway cleaning guide, and if the rest of the property needs attention too, house washing pairs naturally with a paver refresh.